


Does your shower feel more like a light drizzle than a refreshing downpour? Have you noticed those chalky white or greenish spots building up around your shower head? You’re not alone. Hard water and mineral deposits are a common headache in homes across the country. The good news? You don’t need fancy chemicals or a lot of time to fix it. Here are 10 simple, effective bathroom cleaning hacks for your shower head that will have it working like new in no time.
Why Your Shower Head Gets Clogged
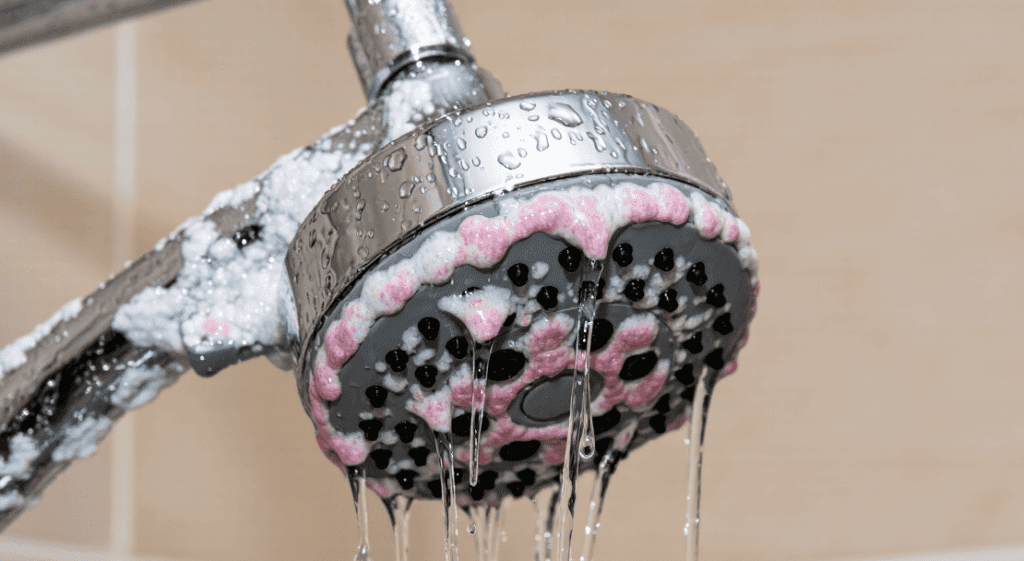
It all comes down to what’s in your water. Most tap water contains minerals like calcium and magnesium that are totally safe to drink or bathe in. But when water sits or evaporates, those minerals get left behind.
- Hard Water: This is water with a high mineral content. When it dries, it leaves behind limescale, which is that crusty white buildup.
- Mildew: In damp, dark places like your bathroom, mildew (that pink or black film) can also grow in and around the nozzles.
This buildup slowly blocks the tiny holes in your shower head, leading to weak, uneven water pressure.
10 Bathroom Cleaning Hacks for Shower Head
These methods use items you probably already have at home. They’re safe, natural, and easy on your wallet.
1. The Classic Vinegar Soak (The Most Popular Hack)
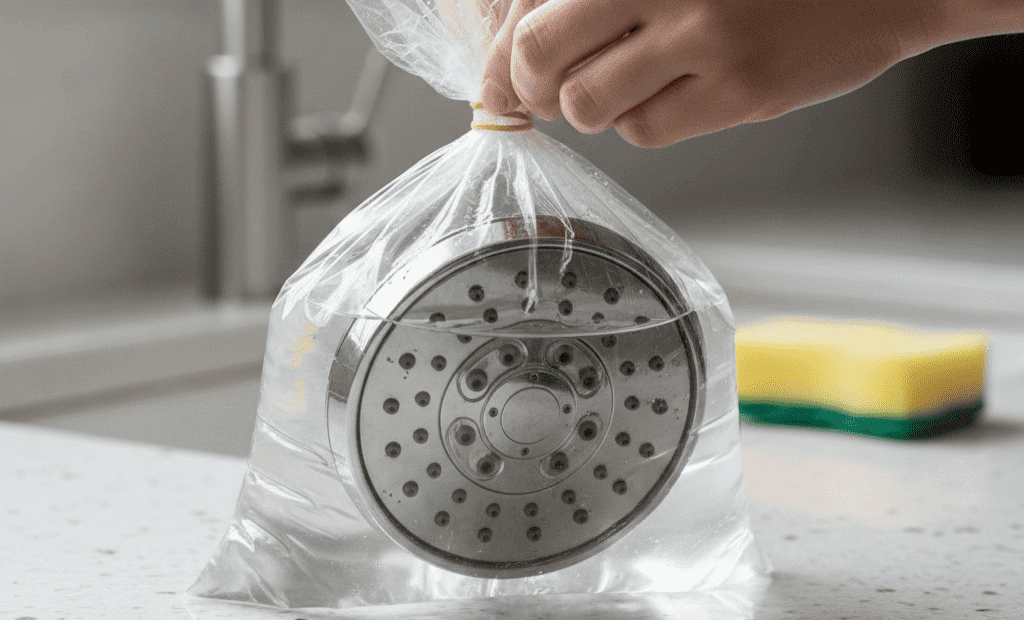
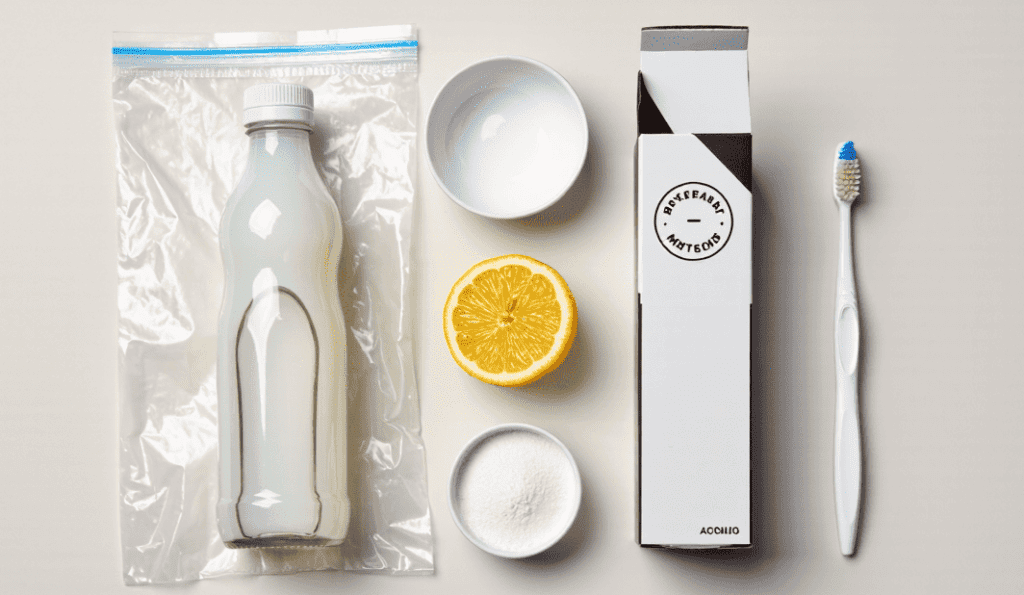
This is the gold standard for a reason. White distilled vinegar is a mild acid that dissolves mineral deposits beautifully. For a removable shower head, simply unscrew it, place it in a plastic bag filled with vinegar, and secure it with a rubber band. Let it soak for at least an hour. For a fixed shower head, fill a plastic bag with vinegar, tie it around the head, and let it sit. After soaking, scrub the nozzles gently with an old toothbrush and rinse.
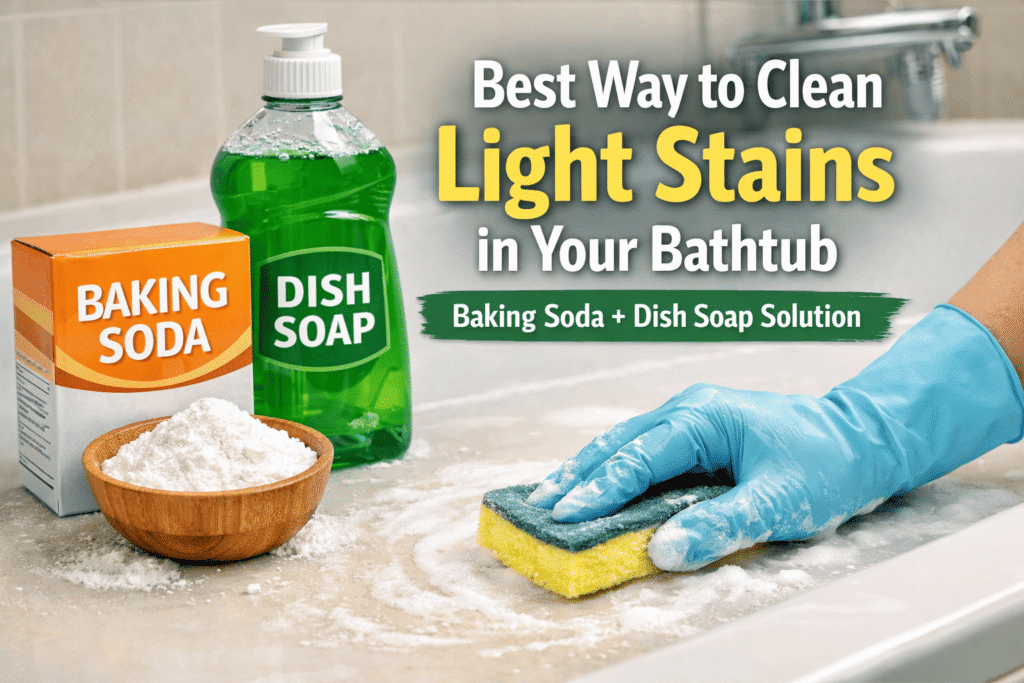
2. The Baking Soda & Vinegar Combo
For extra grime or mildew, make a paste with baking soda and a little water. Scrub this paste onto the shower head surface and nozzles. The baking soda is a gentle abrasive. Then, follow up with a vinegar soak or spray. The fizzing action helps lift and break down the gunk.
3. The Lemon Fresh Soak
If you’re not a fan of the vinegar smell, lemon juice is a great natural alternative. Its citric acid works similarly on limescale. Use the same bag-soak method with fresh lemon juice or bottled lemon juice. It leaves a fresh, clean scent behind.
4. The Dish Soak Shortcut
No time for a long soak? Try this: fill a bowl or bag with equal parts hot water and liquid dish soap. The degreasing power of dish soap can cut through soap scum and some milder mineral deposits in about 20-30 minutes.
5. The Denture Tablet Trick
Drop a couple of effervescent denture cleaning tablets into a bowl of warm water and submerge your shower head. The fizzing action is designed to remove deposits safely and works wonders on shower heads too. It’s a great quick option.
6. The Hot Water Flush
Before trying any soak, always start by running hot water through your shower head for a few minutes. This can loosen recent buildup and makes any cleaning method that follows more effective. Do this once a week as a simple preventative step.
7. The Toothbrush Scrub
Never underestimate a good, old-fashioned scrub! An old, soft-bristled toothbrush is the perfect tool for dislodging debris from each individual nozzle. Do this after any soaking method for the best results. It’s satisfying and effective.
8. The Straight Pin Unclogger
For stubbornly clogged holes, carefully use a straight pin or unbent paperclip to poke into each opening after soaking. Be very gentle to avoid scratching the finish. This physically clears the last bits of gunk for a perfect water stream.
9. The CLR Alternative (For Heavy Buildup)
For years of neglected, heavy limescale, a product like CLR (Calcium, Lime, and Rust remover) can be effective. Important: Always follow the product instructions exactly, wear gloves, ensure the room is well-ventilated, and test it on a small area first. Rinse thoroughly. This is a stronger chemical option, so use it sparingly and with care.
10. The Preventive Shower Head Spray
Make a habit of giving your shower head a quick spray-down after your last shower of the day. Use a 50/50 mix of white vinegar and water in a spray bottle. A quick spritz and wipe can prevent buildup from ever getting a stronghold.
Quick Tips & Smart Tricks
- Protect Your Finish: Always use soft cloths or brushes. Steel wool or harsh scrub pads can scratch chrome or brushed nickel finishes.
- Check the Washer: When you unscrew your shower head, check the rubber washer inside. If it’s cracked or worn, replace it to prevent leaks. Hardware stores carry cheap replacements.
- Use What You Have: Don’t run to the store. Start with vinegar, baking soda, or lemon juice from your pantry.
Common Mistakes to Avoid
- Using Harsh Abrasives: Avoid powders like abrasive cleansers on shiny finishes. They will create tiny scratches that attract more dirt.
- Ignoring Manufacturer Instructions: Some shower heads (especially certain finishes or water-filtering models) have specific cleaning instructions. Check the manual first.
- Forgetting to Rinse: Always rinse your shower head very thoroughly with clean water after any cleaning solution, especially chemical ones.
- Over-Tightening: When screwing the shower head back on, hand-tighten it firmly. Using a wrench can damage the fittings and cause leaks.
How Often to Clean Your Shower Head

A quick wipe-down during your weekly bathroom cleaning is a great habit. For a deeper clean with vinegar or another method, aim for once every 1-2 months. If you have very hard water, you might need to do this monthly. You’ll know it’s time when the water pressure starts to feel weaker.
FAQ Section
Q: Will vinegar damage my shower head’s finish?
A: For most common finishes like chrome, vinegar is safe when used for a short soak (1-2 hours). Avoid leaving it on for extended periods (like overnight) on brushed nickel or oil-rubbed bronze, as it can dull the finish. When in doubt, do a spot test on a small area first.
Q: How long should I soak my shower head in vinegar?
A: For moderate buildup, 1 hour is often enough. For heavy limescale, you can soak it for up to 4-8 hours. Overnight is usually overkill and not recommended for all finishes.
Q: The holes are still clogged after soaking. What now?
A: After soaking, use a soft toothbrush to scrub the face of the shower head. Then, carefully use a straight pin to poke gently into any remaining clogged holes. The combo of chemical dissolving and light physical clearing almost always works.
Q: Can I use bleach to clean my shower head?
A: It’s not recommended. Bleach is harsh, can damage finishes and rubber seals, and creates strong fumes. The natural acids in vinegar or lemon juice are safer, more effective on minerals, and better for your bathroom’s air quality.
Final Thoughts
A clean shower head isn’t just about looks; it’s about enjoying a strong, refreshing shower every single day. These hacks prove that you don’t need a cabinet full of expensive products to tackle this common problem. Start with the vinegar bag trick this weekend it takes just minutes to set up. You’ll be amazed at the difference it makes. Here’s to easier cleaning and better showers